Worst Photo Quality: What Causes It and How to Avoid It
Worst photo quality comes from too few pixels or heavy compression; see when shrinking files helps and what to send clients for clean prints and screens.

Contents
The worst photo quality is an image that cannot do its job because it is out of focus, poorly exposed, too small for its intended size, or damaged by excessive compression. Match pixel dimensions and file quality to the final use, keep an untouched original, and shrink copies when smaller files are needed. In practice, checking settings and exports before delivery helps prevent blurry surprises while still allowing fast-loading proofs and easy sharing.
Picture a photo you’re proud of landing in a client’s inbox as a fuzzy, blocky mess. The shot didn’t change, but the file did.
A low-quality photo is one that fails at its job, like looking sharp on a website or printing cleanly in a brochure.
Usually it comes down to two things: too few pixels for the size you need (resolution) or too much detail thrown away to shrink the file (compression).
Here, we’ll cover what causes the worst results, why you’d sometimes lower quality on purpose, and what it means for your client deliveries.
What Causes the Worst Photo Quality
Most weak photos fail for a few predictable reasons, and you can catch them before delivery.
Technical faults that ruin a photo
- Bad exposure. Exposure is how much light reaches the sensor. Too little light turns shadows to mud, and too much blows highlights out to white.
- Missed focus. Good light can’t save a soft subject. Zoom to 100% to check, since previews hide softness.
- Low resolution. Too few pixels (the tiny squares that build an image) and the file can’t fill the size the client needs.
- Heavy compression. Compression throws away image data to shrink a file, so push it too far and edges turn blocky.
- Pixelation when printed. Pixels that look fine on screen turn into visible squares at print size.
Noise is the speckled grain in dark areas, usually from pushing ISO (how sensitive your camera is to light) too high. Avoid it by keeping ISO low and adding light instead, like a brighter room or a slower shutter on a still subject.
Mistakes that cost you the shot
Many of these come down to habits and timing:
- Wrong camera settings. The dial is still set for last week’s job.
- Missed defining moment. The expression that tells the story happens while you’re still adjusting.
- Obstructed subjects. A hand, a stand, or a passerby blocks the detail the client wanted.
- Forgetting to change manual settings. Old exposure carried into a new scene ruins the next set.
- Accidental, unintended shots. Test frames and blurry rejects end up in the delivery folder.
Think of a freelance food photographer who styles a dish for an hour, then shoots it with settings left over from a dim indoor job. A two-minute settings check would have saved the session. Most lost shots come down to habit more than luck.
What Is a Bad Photo Resolution?
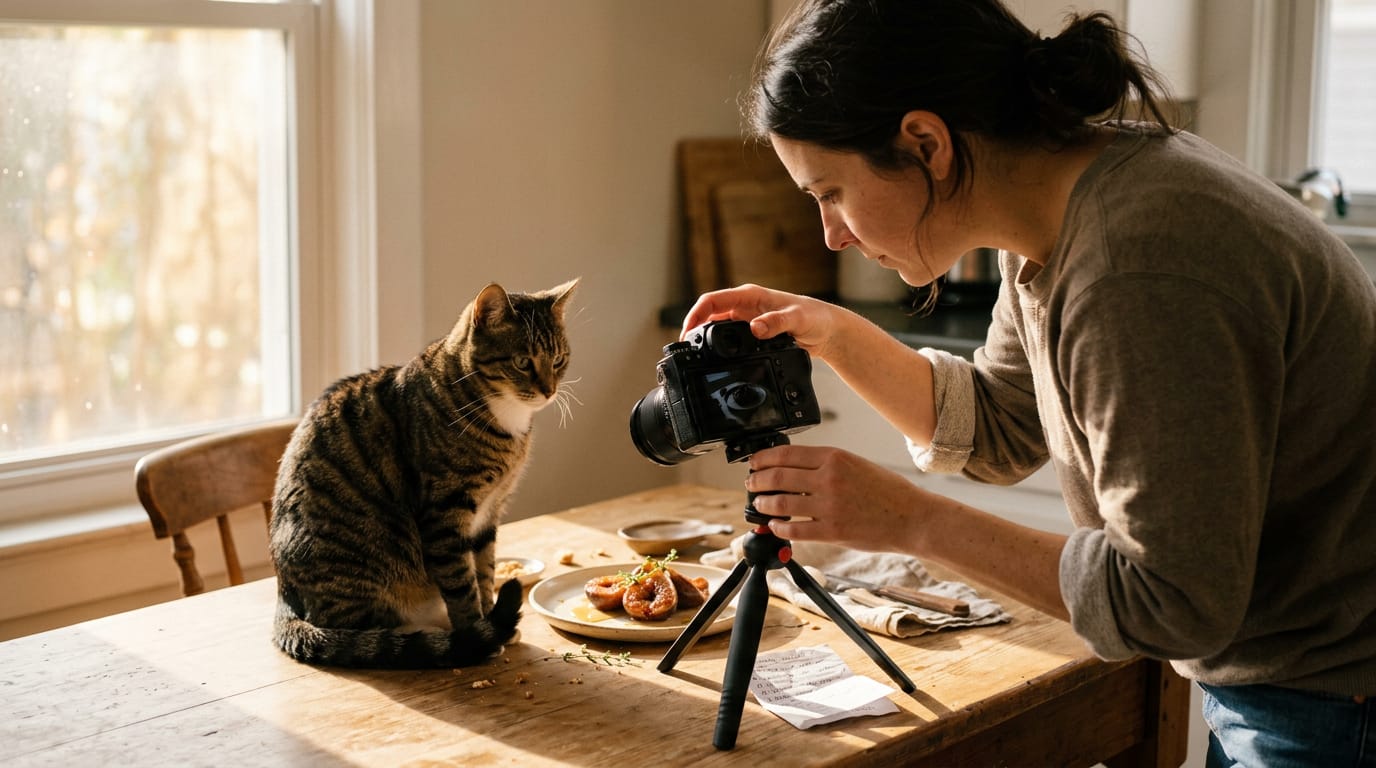
A photo has bad resolution when it lacks the pixels for the size you need, or when heavy compression has squeezed out its detail.
Choosing between lossy and lossless files
Lossy formats shrink files by discarding detail for good. Lossless formats keep every bit, so their files are larger. A PNG (Portable Network Graphics) is a common lossless format for sharp graphics.
For photos, JPEG (Joint Photographic Experts Group) is the usual lossy format, and its quality setting is your dial: higher settings mean bigger files with fewer blotchy artifacts.
Re-saving a lossy file causes generation loss, throwing away a bit more detail each time. Picture an illustrator re-saving a client’s approved JPEG through five rounds of tweaks until the edges look muddy.
Detail lost this way doesn’t come back, so keep an untouched master and export copies from it.
Resize photos without losing quality
Start with the output size and work backward. Divide the pixel dimensions by the print size in inches to get pixels per inch (ppi), which shows whether the file will hold up. Match the file to the output, not the camera.
A photographer who shoots on a Canon 70D and sends a full-size file for a website banner just makes the page slow to load.
Is 12 megapixels good or bad? Megapixels measure size, not quality. Whether it’s enough depends on the output size you need.
Never enlarge a file after the fact. Stretching a small image adds pixels the camera never captured, so it turns soft. Resize down from your master instead.
Match delivery to the destination:
- Web delivery. 72 ppi is the usual target for screens, so a lighter file loads fast.
- Print delivery. Print needs far more pixels per inch, so send a full-resolution export.
Why You Might Lower Quality on Purpose
Lowering quality isn’t always a mistake. Sometimes a smaller file is the smarter pick.
Size limits when sharing and uploading
Many photo-sharing sites cap upload sizes, so a full-resolution file can get rejected. Platform algorithms can also degrade images by recompressing your uploads.
A smaller export keeps you in charge of how it looks, and a lighter portfolio page loads faster for visitors.
Google’s Workspace Help documentation notes that Gmail limits attachments to 25 MB and suggests Google Drive or another file-sharing service for anything larger.
For example, a wedding photographer emails forty full-size images, runs into that limit, and shares the originals through a Drive link instead. The email goes through, and the client still gets everything.
Saving space and protecting your work
- Storage space. Smaller exports leave room on memory cards and hard drives, which matters after a long shoot.
- Deterring printing or selling. A screen-sized file looks fine online but falls apart at poster size, so it’s far less useful to anyone who’d print or sell it without paying you.
- Evidence of ownership. Posting smaller copies while keeping full-resolution originals private gives you a record of who made the work.
- Not foolproof. Downsizing is a deterrent, not copyright protection. Someone can still screenshot a small image. It’s a speed bump, not a locked door.
- Low-resolution watermarked proofs. Picture a photographer who sends a client twenty small, watermarked previews to choose from. The client picks favorites, and the full-resolution files go out once final payment clears.
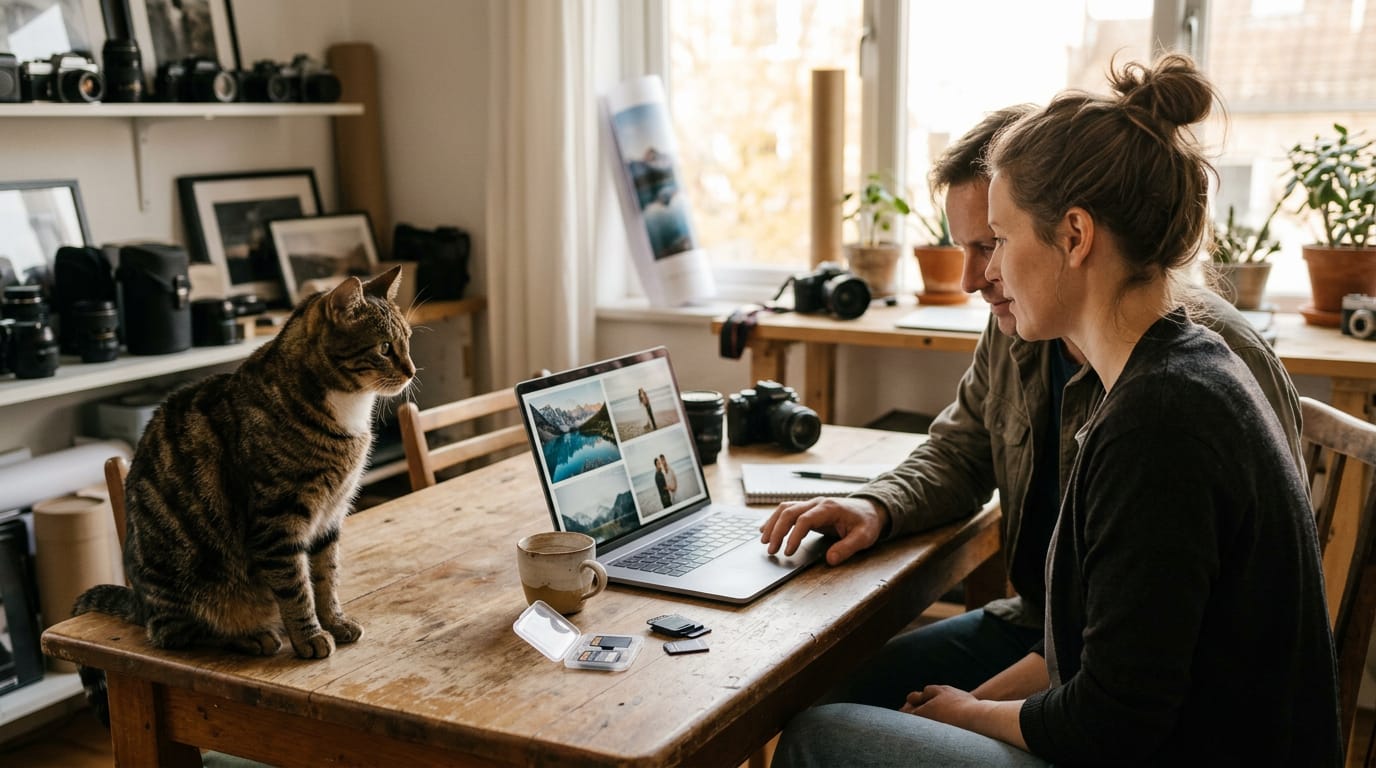
How to Lower Quality or Shrink Images
Sometimes you want a smaller file on purpose, like a preview for a client. You can shrink it in a desktop editor, an online tool, or on your phone.
Shrinking photos in desktop editors
Most desktop editors let you set export quality when you save a copy:
- Photoshop: Set smaller dimensions in Image Size, then pick a quality level in Export As.
- Lightroom: Crop to your frame, then adjust quality in the export settings.
- GIMP: Drag the export quality slider down, then check the result.
- Microsoft Picture Manager: Use its compress option to reduce file size.
The goal is smaller files, not sharper ones.
Using online tools to compress photos
Online compressors are handy when you don’t want to open a full editor. Compare how much control free and paid options give you over quality.
- IMG2GO: This tool balances quality against file size, so back off a step if the image looks soft.
- Resize and convert formats: Changing dimensions or file type gives you two more levers.
Think of a wedding photographer sending a proof gallery to a couple who’ll review it on their phones. Web-sized proofs load fast, and the full-resolution files wait for the final order.
Lowering quality right on your phone
- Camera app picture quality setting: Check the camera’s menu for this option.
- RAW, JPG, and HEIC formats: RAW keeps the most data for editing, JPG (JPEG) is the common compressed format, and High Efficiency Image Format (HEIC) is a compact option.
- Editing apps like Snapseed: Export a smaller copy, and your original stays untouched.
- Settings vary by phone: Menu names differ by model, so search your model with the setting you’re after.
Shrink a copy, never the original.
Quick Answers About Image Quality
Photos often lose quality after they leave your camera. Here’s where that happens, plus the rough looks we see creatives choose on purpose.
Which tools quietly lower photo quality
Some culprits hide in tools you’d never think to blame:
- Neutral density (ND) filters: These cut the light for slower shutter speeds, but they change the capture, so check results instead of assuming it’s clean.
- Canva compression: Design tools can shrink images on upload or export, so the file your client gets may be softer than the one you made.
- Discord compression: Chat apps re-compress what you send, so a quick share can look softer than your original.
- Reducing JPEG size: Lowering the quality setting on JPEG (Joint Photographic Experts Group) files, which are lossy and trade detail for smaller sizes, throws that detail away for good.
Picture an illustrator sharing finished art through a chat app. The client’s printer gets the squashed copy, and the linework comes out fuzzy. A full-size download link would have avoided that reprint.
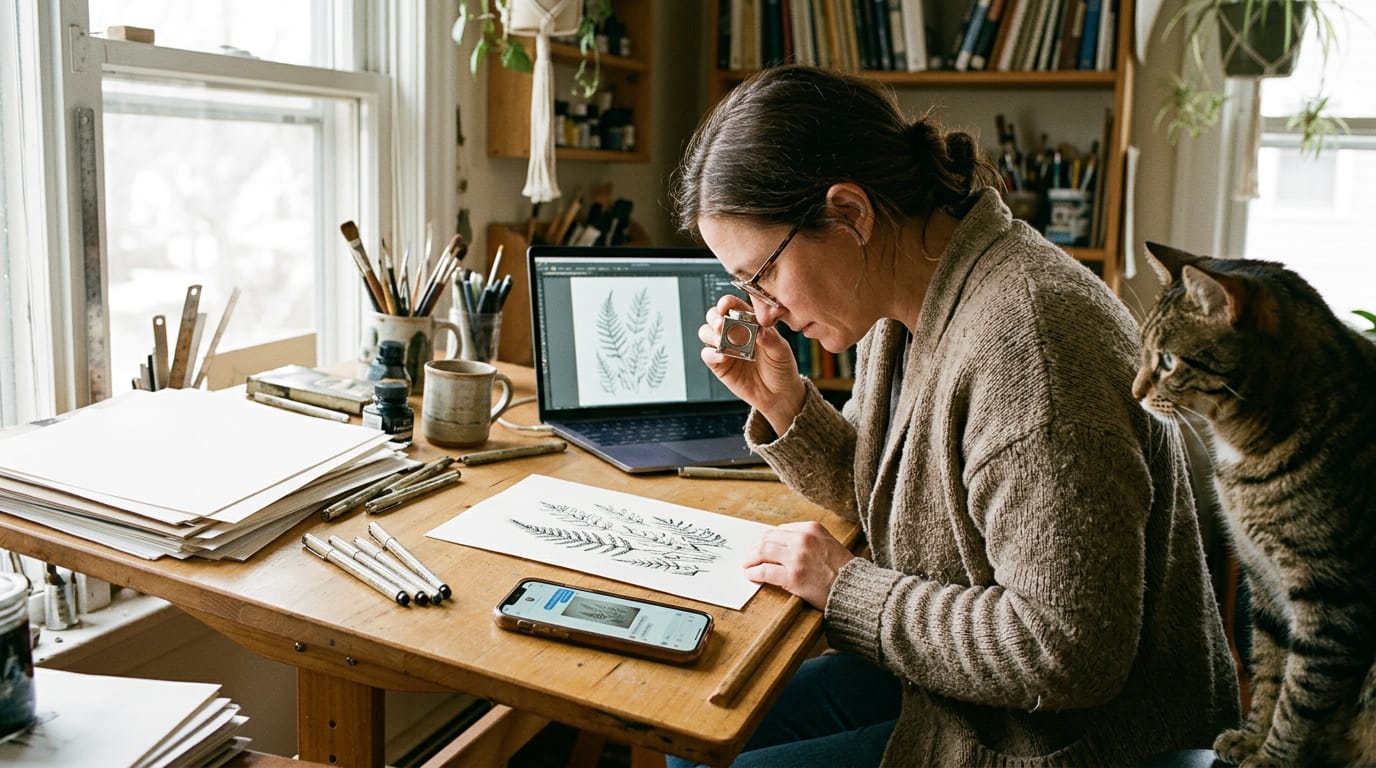
Making photos look intentionally rough
Sometimes low quality isn’t a mistake. It’s a choice.
- Lowest quality format: JPEG: Saved at its lowest setting, a JPEG shows the roughest look, with visible blotches and lost edges.
- Badly compressed pixelated look: Heavy compression creates blocky squares and smeared edges, which reads as gritty when it’s intentional.
- Pixelated video memes via CapCut: Short-form video editors like CapCut can add that crunchy, pixelated look, which is common in memes.
- Low-quality maker is a compressor: Those make-it-low-quality tools are really compressors that run your photo through heavy compression on purpose.
Photographers Share Their Worst Shots
Ask working photographers about their worst shots and you’ll hear some honest stories. Here’s what they share, and what those misses taught them.
Telling the story behind bad shots
Veteran photographers swap worst shots like road trip stories. Some of the most talked-about misses are moments that can’t be repeated, like a missed Pope Francis moment. Those shots are gone the instant they pass, which is why they stick.
Many photographers share captioned examples of failures, pairing each bad frame with a short note on the cause. Consider a product photographer whose client’s proofs came back soft because the files were exported too small.
She wrote a caption for the bad proof, added a file-spec line to her delivery email, and the next round went out clean.
Humor does a lot of the work here. Self-deprecation makes a bad shot easier to share, and it tells clients you’re not precious about mistakes.
Lessons learned from failed shots
Imperfection is part of the craft, not a sign to quit. Every failed frame teaches you something about light, timing, or gear.
Learning from mistakes works best when it’s specific. Try a post-shoot review: a five-minute note on what went wrong on each job.
Humility makes better photographers. It’s not about apologizing for your work but about understanding why a shot missed so you can stop repeating it.
Even your worst shots tell a story about the day they were taken. Label them, file them, and you’ll have a reference for the next similar job. Keep the bad ones.
Most quality problems trace back to two things: not enough pixels for the job, or compression that’s removed more detail than you meant to lose. Once you know which one you’re dealing with, the fix is usually simple.
Quality is a choice you make on purpose, whether it’s a light proof for a client’s review or a full-resolution master for print. Know what each file is for, and you’ll rarely end up with a blurry surprise on the other end.
Match the file to the job, and your work always looks like your work.
References
- Gmail receiving limits in Google Workspace — knowledge.workspace.google.com
Questions
What is a bad photo resolution?
A photo has bad resolution when it lacks enough pixels for the size it needs to display or print, making it look soft or pixelated. Heavy compression can also make an image look low quality by removing detail and creating blocky artifacts.
How do I turn a picture low quality?
To make a picture lower quality, export a copy at smaller dimensions or lower its JPEG quality setting in an editor or image-compression tool. Check the result, and keep the original unchanged because compression discards detail.
How to avoid noise in photography?
Keep ISO low when possible and add light to the scene to reduce noise. For a still subject, you can also use a slower shutter speed; make sure the camera stays steady to avoid blur.
Is 12MP camera quality good or bad?
A 12MP camera can produce good images, but megapixels measure image size, not overall quality. Whether 12MP is enough depends on the output size, such as a screen image or a large print.
Sources
- Gmail receiving limits in Google Workspace | Google Workspace Help, knowledge.workspace.google.com