How to Draw a Pet Portrait From a Photo
A graphite pet portrait comes together in a set order: a sharp photo, light proportions, values from light to dark, then the eyes and fur. Each step, with the pencil for it.
We may earn a commission when you buy through links in this article. As an Amazon Associate we earn from qualifying purchases.
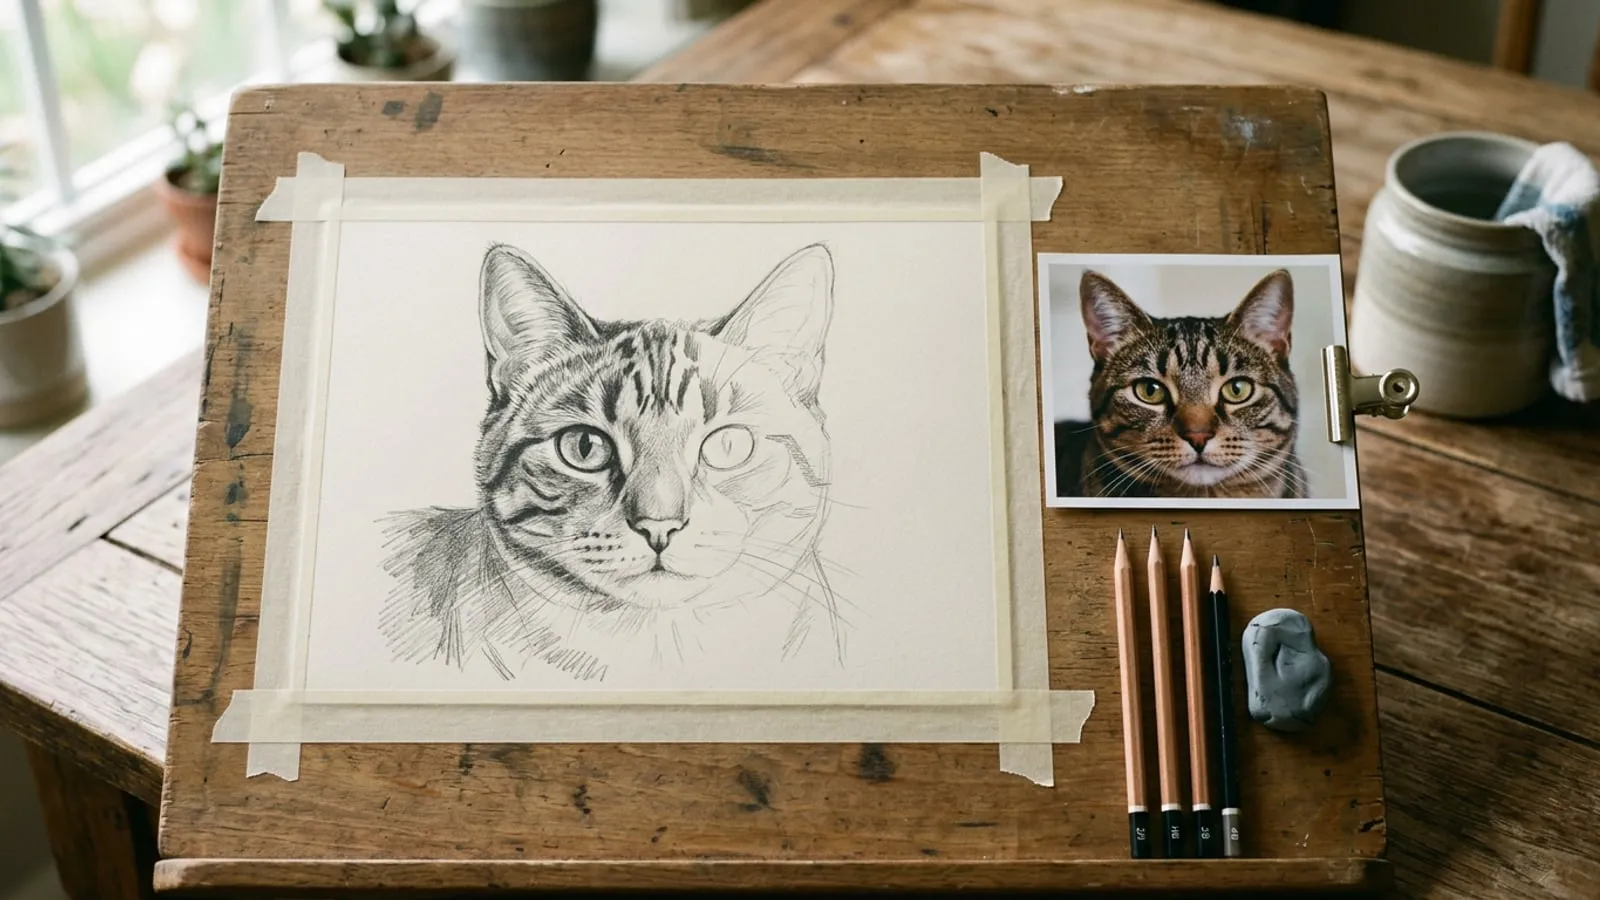
A good pet portrait looks like one particular animal, not just any dog or cat. That likeness comes from proportions, values and the eyes far more than from drawing every hair, so the order you work in matters. This guide takes you from a phone photo to a finished graphite drawing in six steps, with the pencils and paper that suit each stage. You need no experience with portraits, only the patience to work from light to dark.
Choose a Reference Photo That Can Carry a Portrait
The photo sets the limit on how good the drawing can be. A blurry or flat image forces you to invent detail, and invented detail rarely looks like the animal. Before you start, look for a picture with these qualities:
- Taken at the pet’s eye level. Phone shots from above shrink the body and swell the head.
- Sharp eyes. If you can see the catchlight, the small reflection of the light source, there is enough detail to work from.
- Light from one side. Window light gives clear shadows that describe the shape of the skull and muzzle. Avoid on-camera flash, which flattens the face and makes eyes glow green or red.
- A typical expression. The owner should recognize the head tilt or the set of the ears straight away.
- Full resolution. Use the original file, not a screenshot from a messaging app, and print it at the size you plan to draw.
Gather Five Pencils and the Right Paper
Five grades cover the whole range of a portrait. The H grades are harder and lighter, the B grades softer and darker, and HB sits between them. Grades are not standardized, so a 2B from one brand can be darker than a 2B from another; the grading section of the pencil article on Wikipedia explains the scale.
| Pencil | What it does | Where to use it |
|---|---|---|
| 2H | Faint, crisp lines that erase cleanly | The first outline and the grid |
| HB | Light, even tone | The first layer of shading, pale fur |
| 2B | Mid-gray that blends easily | Midtones, the shape of the muzzle |
| 4B | Dark tone with a slight shine | Shadows and dark markings |
| 6B | The darkest, softest mark | Pupils, nostrils, the deepest shadows |
Add a kneaded eraser, which you can pinch to a point to lift highlights, and a paper blending stump if you like smooth transitions. For paper, Bristol board is a good choice: its vellum surface has a slight tooth that holds several layers of graphite, and its smoother plate surface suits crisp detail on short-haired animals.
Map the Proportions
Most portraits that look wrong fail here, not in the shading. Spend time on this stage and keep every line light enough to erase.
Use a Grid
Draw a grid of equal squares over a print of your photo, or use a grid overlay in a photo app. Draw the same number of squares, lightly, in 2H on your paper. Then copy the photo one square at a time, watching where each edge crosses a grid line. Because you look at only a small area at once, you draw the shapes you see rather than the ones you expect.
Measure by Eye
If you prefer to work without a grid, use the head as your unit. Hold your pencil at arm’s length, line its tip up with the top of the head and slide your thumb down to the chin. Compare that length with the width of the head, the distance between the eyes and the length of the ears. Mark each point with a light dot before you connect them. Domestika’s Animal Drawing for Beginners course teaches this kind of shape-based construction if you want guided practice.
Block In Values Before Detail
Value means how light or dark an area is, and it does more to make a portrait look solid than any outline. Work across the whole drawing in layers, so no area races ahead of the rest.
- Squint at the photo until the detail blurs and you see only large areas of light and dark.
- With an HB, shade every area that is not pure white, using light, even strokes.
- Switch to a 2B and darken the midtones: the sides of the muzzle, the shadow under the chin, the inside of the ears.
- Use a 4B for the shadows and the dark markings.
- Step back, compare the drawing with the photo from across the room, and adjust before you add any detail.
Leave the brightest areas as untouched paper. White paper is the lightest value you have, and graphite rarely erases back to a clean white.
Draw the Eyes, Then the Fur
The eyes are where people look first, so finish them before anything else. Outline the iris lightly, fill the pupil with 6B, and shade the iris in several thin layers, darker at the top where the eyelid casts a shadow. Darken the rim of the lid and the inner corner, then soften the edge where the eye meets the fur.
Tip: plan the catchlight before you shade. Draw a tiny circle where it falls and shade around it, so it stays clean paper. A highlight lifted out with an eraser later is never as bright.
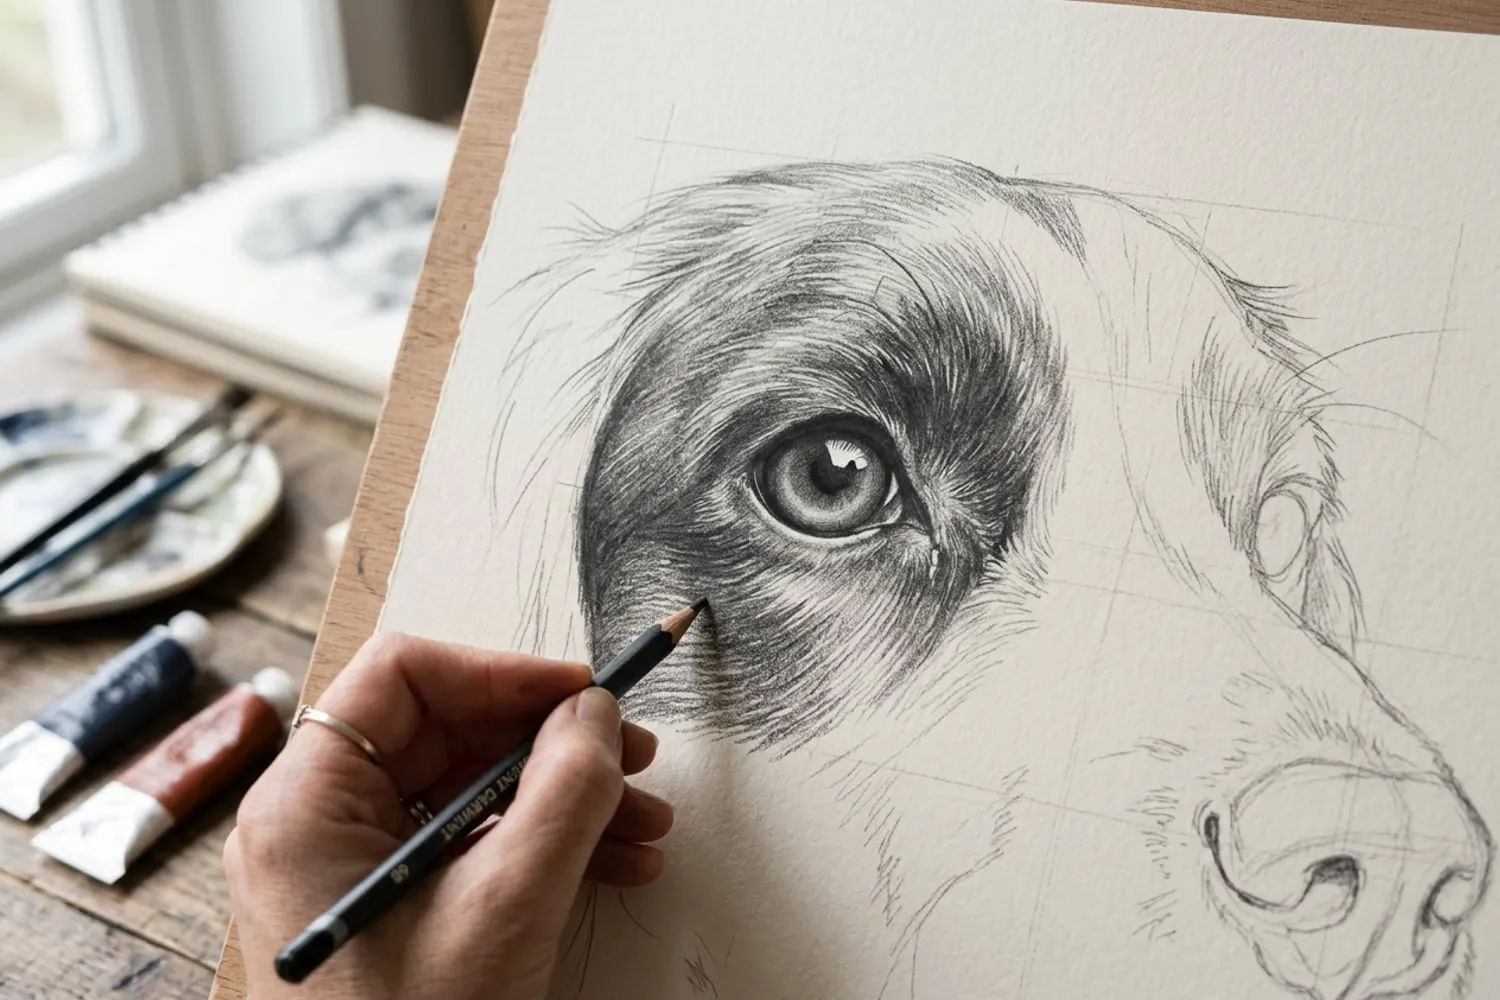
The nose works the same way: a dark base, highlights left as paper, and the texture of the leather suggested with small circular marks rather than drawn bump by bump.
Fur is a pattern of short strokes, not a mass of separate hairs. Note which way the fur grows on each part of the face: it usually radiates from the nose, sweeps back over the forehead and changes direction at the cheeks. Make your strokes follow that direction, flicking the pencil off the paper at the end of each one so the stroke tapers. Work from the dark undercoat to the lighter top layer. On short coats, keep the strokes short and close together. On long coats, draw the larger clumps first and add single strands only at their edges. To keep white whiskers or light hairs on dark fur, press the lines into the paper with an empty ballpoint pen before you shade, and the graphite will skip over the grooves.
Protect and Frame the Drawing
Before you call it done, set the drawing beside the photo and look at both in a mirror or upside down. Errors in proportion stand out when the image is reversed. Make small corrections, then clean stray marks from the background with the kneaded eraser.
Graphite smudges easily, so spray the finished piece with fixative in a few light coats, outdoors or in a well-ventilated room, holding the can at the distance the label gives. Let it dry completely before you mat it. If the portrait is a gift, the Wall Art section covers framing, mats and where to hang it. When you want to keep improving, Domestika’s drawing courses and traditional illustration courses offer longer guided projects.
Frequently asked questions
Which pencils do I need for a pet portrait?
Five grades cover most portraits: a 2H for the outline, an HB for light tones, a 2B for midtones, a 4B for shadows and a 6B for the darkest points. Add a kneaded eraser for lifting highlights and a sharpener to keep the points fine.
Is using a grid cheating?
No. A grid only puts the proportions in place, which is the part beginners most often get wrong. The values, the eyes and the fur, which are what make the drawing look like the animal, still come from your hand.
How do I draw white whiskers on dark fur?
Press the whisker lines into the paper with an empty ballpoint pen before you shade. Graphite skips over the grooves, so the whiskers stay white. You can also lift thin lines out afterwards with the pointed edge of a kneaded eraser.
Sources